Since i have been getting alot of questions on how to increase root partition size on a linux system i decided (finally!) to write a how to about this topic. Linux root partition is different from all other partitions on your system since it holds all of the system files required for your system to run and operate.
This is the reason why you can not increase root partition size as simply as any other partition – you can not just un-mount it because the system will not let you since it is using it.
To increase root partition size, we have to boot off a bootable live CD/DVD or USB image and increase root partition size from there and this requires SYSTEM DOWNTIME! It is not possible to increase root partition size without system downtime!
For this how to i have set up a virtual linux system and filled up it’s root partition, as you can see in the picture below. I will use CentOS ISO to boot a live system which will enable me to increase root partition size.
My CentOS servers root partition is located on a LVM which makes it easier to resize. If you have your root partition size located on a standard (/dev/sdaX, /dev/sdbY, …) you can not follow this how to, to increase your root partition size!
Let’s learn how to Increase Root Partition Size!
1. Prepare Your CentOS 7 Live CD/DVD or USB Image
Make sure you have a live CD/DVD or USB image to boot off from. In this how to i will use CentOS 7 DVD ISO image, but in the end you can do the same with Fedora, Ubuntu or any other live CD/DVD ISO image.
2. Identify Your Root Partition
Make sure you will be able to identify the root partition when in live system. Since we are increasing a LVM root partition this should be a no brainer else, the easiest way would be remembering it’s size. If you have many partitions the same size you could check the start and end blocks.
Using LVM i identified my root partition as /dev/mapper/centos-root LVM partition (centos/root) which means it is in a VG (Volume Group) called “centos” and a LV (Logical Volume) called “root”. Read more about managing LVM’s HERE.

Identify root partition
3. Add Additional Disk
Add additional disk to your system so we can increase root partition size or make sure you have free space available on your existing disk configuration. Since i am using virtual system i added an additional 2GB disk to it which is recognized as /dev/sdb in my system.
4. Reboot Your System
Insert the live image into your CD/DVD drive or USB port and reboot the system. Since i am using a virtual system i will insert CentOS 7 ISO to virtual CD/DVD drive. At boot time jump to “boot menu” and choose the correct medium to boot off from.

Insert CentOS 7 DVD ISO
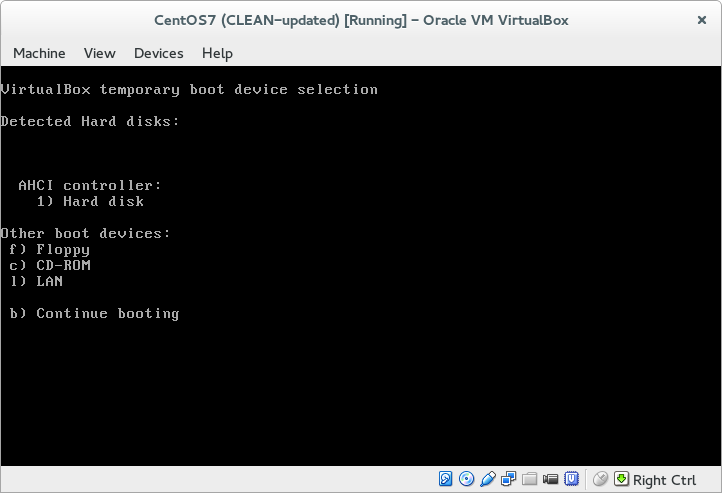
Boot menu
After this, the CentOS 7 menu should appear.
5. Choose “Troubleshooting”
When your CentOS 7 ISO boots choose “Troubleshooting” option from the first menu.
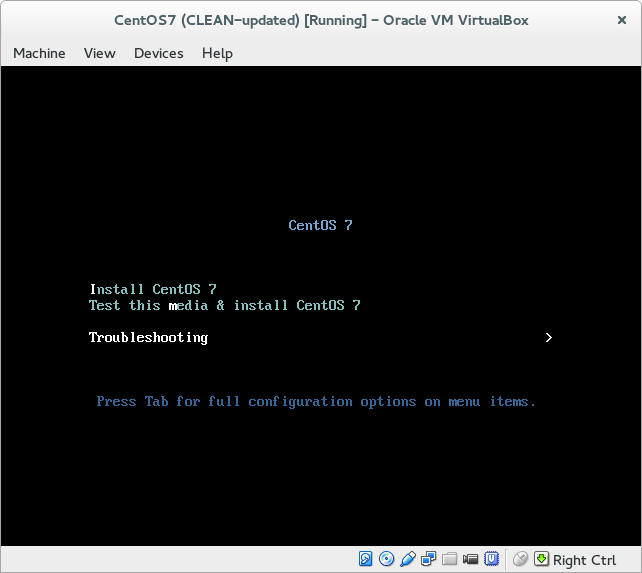
CentOS 7 menu: Troubleshoot
6. Choose “Rescue a CentOS system”
In the second menu choose “Rescue a CentOS System”.
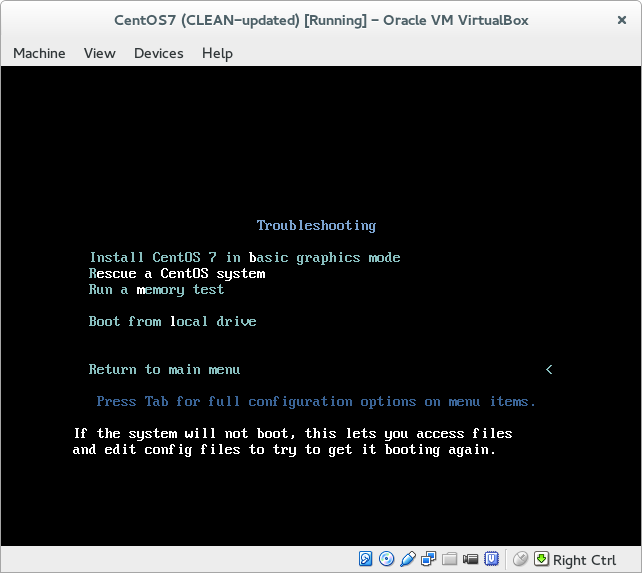
CentOS menu: Rescue a CentOS system
7. Skip Mounting Existing Linux Installations
When asked to find and mount any existing linux installations choose “Skip”. Since we are increasing our root partition, this partition must not be mounted.
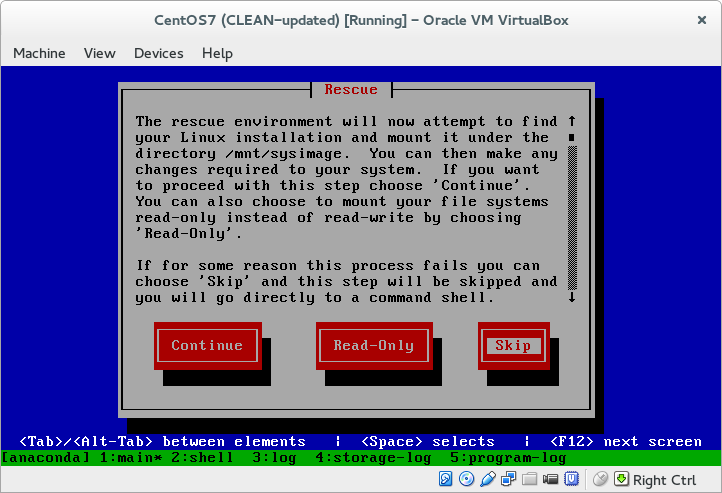
Skip mounting existing linux installations
When hiting “Enter” you will drop to bash shell.
8. Prepare New Disk
Since i added a completely new 2GB disk to my virtual system i must prepare this disk for use with LVM. Read more about managing LVM’s HERE. If you are extending your root partition with existing empty partition the process is similar just use the partition identifier (sdaX or sdbX) when running commands.
Checking current disk configuration with “fdisk -l”.

Checking current disk configuration with fdisk

Checking current disk configuration with fdisk
We must prepare new additional disk by creating a new PV (Physical Volume) and extend our VG (Volume Group) as shown in the picture below – identified in Step 2 and with fdisk, VG to extend is called “centos”.

Prepare additional disk
As we can see in the next screenshot our VG called centos now has 511 free PE (Physical Extents) – see “Free PE / Size” row – which means we can increase our root LV (Logical Volume) by 511 PE.

Check number of free PE
9. Increase Root Partition Size
To wrap things up we need to extend root LV with “lvextend” command. In my case i am extending it by 511 PE (as much as there are free) and i am also using the parameter “-r” at the end of my command which automatically resizes the filesystem too!
The command sytnax i used is “lvextend -l +511 centos/root -r”. DO NOT FORGET the “+” sign before PE number! If you do, you might loose data!
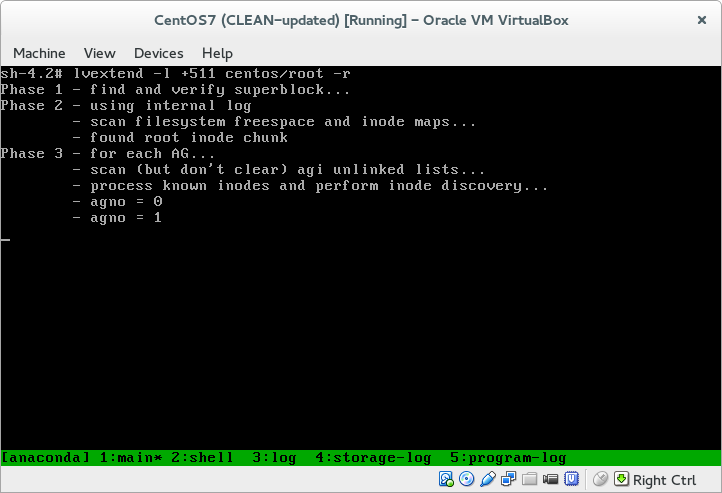
Increase root partition size
Increase root partition size
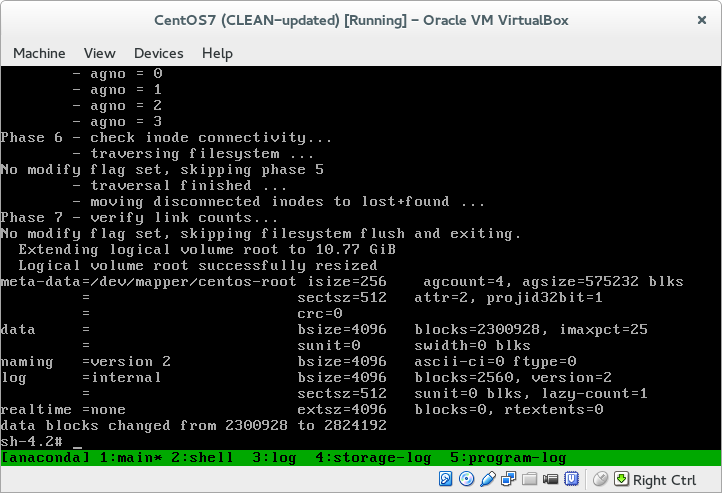
As we can see at the end of command output, data blocks number increased and with that the partition size also.
10. Reboot the System
It is time to remove live image from CD/DVD or USB and reboot to boot our existing system. After that we can check the root partition free disk space.

Check root partition free space
As we can see we have 2GB of free space available on root partition which means we succeded increasing root partition size and came to an end of this how to. I hope this helps you guys.
No comments:
Post a Comment